Let's gather our supplies.
Supplies:
Laminated Burlap Sheets
Picture Frame (I got mine at Dollar Tree)
A pumpkin cookie cutter OR a pumpkin stencil
White paint
paint brush
scissors
pencil
1) Cut a piece of burlap the size of your picture frame. At Wal-Mart I found these sheets of laminated burlap. They are all ready to be painted on, or you can stick them in your printer and print directly on them! I thought that was pretty awesome! You could probably use "normal" burlap, but it might soak up a lot more of the paint.
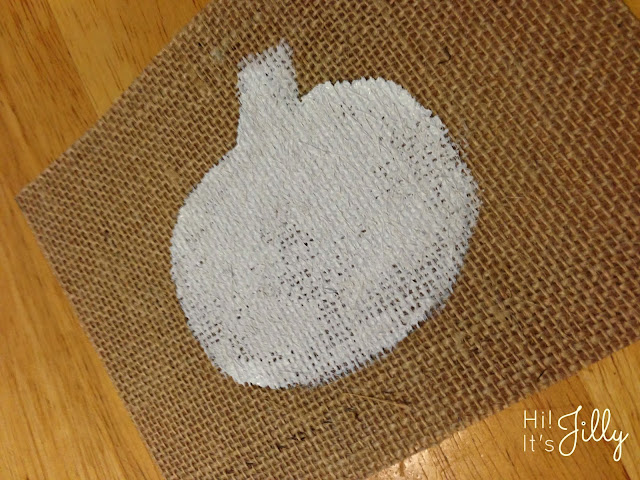
2) Trace your pumpkin shape on to the piece of burlap.

3) Paint inside your pumpkin shape, then let it dry.

4) Put your burlap pumpkin in the picture frame without the glass insert.
5) All done! See, I told you it was easy!
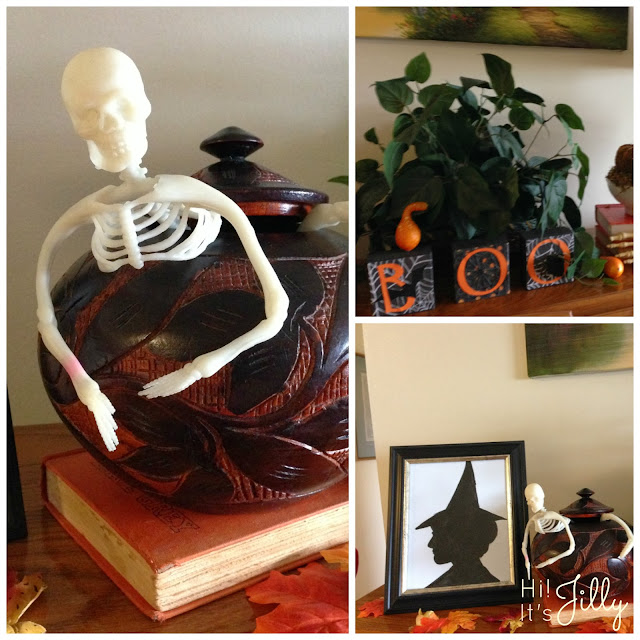
Let's take a peek at the Fall decorations all put together. Aah! I love it. It feels so homey!

Here's the top of the piano. Michael suggested the skeleton crawling out of the pot. Ha ha!
Do you like decorating for Fall? Done any fun Fall projects or made any yummy Fall recipes? Then be sure to link up with my Fall In Love With Fall link party, open until October 15th.
Love to link up with THESE great parties.


